Showing posts with label artist trading cards ATC.. Show all posts

Thursday, March 27, 2014

Happiest of Birthdays

Hello, one and all!  Today's post in a test for me. . . I purchased a new laptop, and am still getting to know the layout and the systems on it. Basically, the Blogger Site and posting are the same, but it has taken me a whole day to find out how to get here. (I am a bit technically challenged!)  So, without further ado, lets get started.
 
This Cosmos stamp from Impression Obsession may look familiar to you, I just did a card with it a few days ago.  It was still laying on my desk, so I picked it up and stamped it again.  The dark brown background piece is from the 3X4 ATC Pad- Stationer's Desk from Prima. These little pads are so cute, and fit nicely on an A2 card front. I have also read where they are the perfect size for the Project Life pages, but I haven't gotten into that style of scrapbooking.  After stamping the Cosmos stamp on white card stock with Tuxedo black Memento ink, I colored them in with some Spectrum Noir alcohol based markers.  I purchased a few to get a feel of how they work compared to Copic markers.  The Copics are selling for around $6.50 per marker at the moment, and the Spectrum Noir sell for around $2.00 per marker. So far, that is the only difference I have found.  
 
After coloring my image, I fussy cut it out and adhered it to the card front with foam tape. I also stamped a greeting from Hero Arts (I believe) on white card and edged it in Garden Grass chalk ink from Prima. Foam tape was also used to pop it up above the bouquet of flowers.
 
I hope you have enjoyed this card, and I thank you for allowing me to use it again to make a quick card to try out my new laptop.  I now have to get busy and do my income tax before the deadline, so if you wonder where I have disappeared to, I am still here, just concentrating on a different subject.
Have a wonderful day!

Monday, July 15, 2013

Botanical Pocket Card

Hello Friends, it's the beginning of a new week, and I have a little different style of card to show you today. It has been awhile since I have done cards using this technique that I learned years ago from the ladies at A Stamp in the Hand Stamp Company. I don't believe the company is in business anymore, but both ladies that taught this technique are still teaching stamping out and about. So for Joyce and Kat, I hope these cards make you proud knowing that what you taught years ago actually "stuck" in one stamper's mind.

To start with, you use a few different supplies from the normal basic card stock and stamps. The paper that gives the best result is Glossy Card stock, I got mine through Ranger. Using red rubber stamps and Marvy Inks and markers, you can create beautiful, and vivid color creations on that glossy paper.  I like to build layers on my cards using this technique.  Starting with the background images, in this card I stamped the large leaf spray in each of the four corners. When you use the red rubber stamps, you can color directly on the rubber with the Marvy markers. Starting with the lightest colors so you don't contaminate your markers, draw the light green marker over the surface of the leaf, touching here and there with the bright green color. Next, draw the olive green marker over the stamp, touching where the darker green areas would be on the leaf stem. Finally, use the darker purple marker to highlight the stem and base of each leaf.  If the ink looks as if it has dried a bit while adding colors, breathe directly on the stamp's rubber, huffing a bit so your breath re-moistens the ink. Stamp onto the glossy stock one or two times to get the graduated colors of the first and second stampings. Re-color your stamp with the markers and stamp again, as many times as you wish.
NOTE: Dye based markers work best with this technique, because they dry slower than do Copic's or Sharpie's.

The next layer on the card base is done with the Marvy Ink pads and a stipple brush. A stipple brush is a stiff bristled brush that is usually flat on the tip end, and is used to "pounce" the ink onto the card. They come in many sizes, from small (1/2 inch) to large (1 1/2 inch) in diameter. I like using the larger sizes because they cover the card base faster when stippling.  Stippling makes tiny dots  on the background if you hold the brush in an upright position when pouncing. Tap the brush on the ink pad several times as it picks up the ink, and then pounce on the paper, shadowing around the edges of the card, blending the colors you want to use.

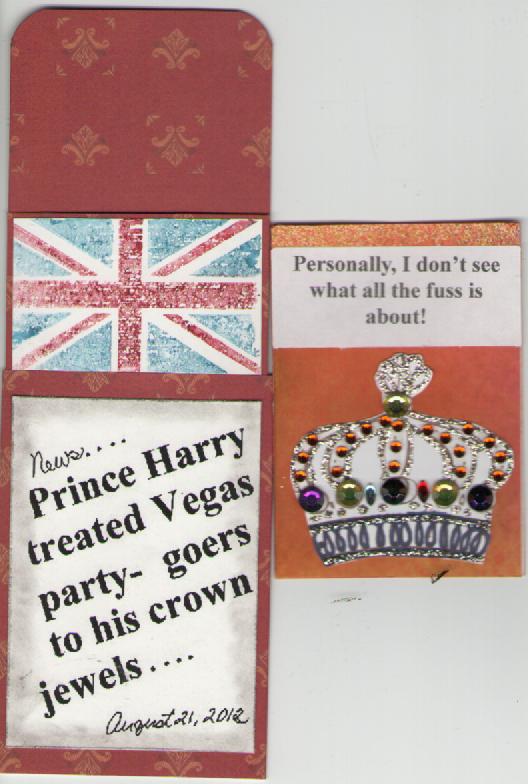
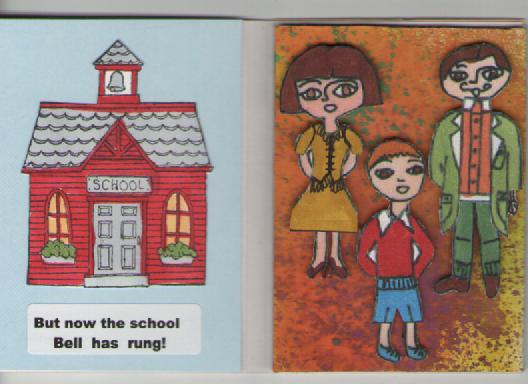
I then inked and stamped several images on the library pocket, along with gluing several strips of patterned paper and ephemera to the pocket before attaching the metal tag with the dragonfly brad. I stippled a little more ink on the pocket, and then adhered the pocket to the front of the card with red-line double stick tape. The red-line double stick tape is preferred when adhering to the glossy card stock, for stronger hold.

When complete, you can adhere the glossy stock to a card base, or use the glossy stock as the card, the glossy finish is usually only on one side, the other side is a matte finish. I placed an Artist Trading Card in the library pocket, but you could also use the pocket to hold a gift card or handwritten note.  Many ask if the glossy card stock is a necessity?  If you look closely, you can see that the colors stamped on the glossy stock are much brighter and more vivid than the same colors stamped on the library pocket.

I hope you have enjoyed this technique, and will try it on a project soon. I enjoy using it on cards where bright colors are used, and hope the cards will brighten your day. Take care, and have a great week!
Mindy

Thursday, September 20, 2012

Two Projects to Share

 Hello friends,
I have two projects to share with you today. The first is an Artist Trading Card that I made for a special friend. She is always been one for adventure, and she is about to embark on another great one. So I made this tiny 21/2" X 31/2"  decorated pocket with card to send her, and she can even take it with her if she likes.
I started out with a 3" X 7" piece of printed scrap book paper, and folded it to within 1" of the top and stapled it with my tiny attacher by Tim Holtz.  I punched the top corners with a corner decorative punch, and stamped a beautiful butterfly stamp on a scrap of stock, colored it with copic markers, cut it out, used Stickles glitter to glam it up, then let it dry and cut it out!  I then attached the butterfly to the pocket with foam tape to make it pop out just a bit.


To make the card, I spritzed the background  (21/2" X 31/2") with Dylusions spray from Ranger, in several colors to really make it colorful. Then I attached the card which is a print itself from the Travel Travelogue paper collection from Graphic 45 papers.  It just slips in the little pocket for a greeting-to-go! You can also write a special message on the pocket front, or on the back of the ATC card like I did.  Janice, have a nice Trip!
The second project for today is a greeting card made from a deco arts mannequin stamp that I just love. I stamped it out on white card stock with black memento ink. The base stand of the mannequin was too large for the front of the card, so I just cut it off and stamped out a flat daisy to use as the base. All of the coloring was done with Copic markers and I accented the center of the flower and the star on her chest with Sepia crystal accents, just to give it a little texture. I found a lovely tiny rose print scrap book paper for the background, and stamped the cancellation stamp from the Tropical Travelogue Stamp Set from Graphic 45 in the empty space. It needed just a touch more to complete the card, so I added a ribbon with knot lengthwise around the card.
I love the phrase on her skirt that says; "Nothing is more important than this day!" So go out there and make it a good one.  See you again soon.

Friday, September 7, 2012

CROWN JEWELS theme ATC's for September


The second theme for the September ATC trade was Crown Jewels. Since there was so much in the press about Prince Harry's escapades while he was in Las Vegas recently, I decided to do a spoof of the headline on my Artist Trading Card.

On the front, I printed off the headline on a piece of white stock, and  inked the edges with black soot chalk. This was an outer pocket. Then on the inner pocket that slides out, I stamped the English flag stamp on white stock, inking the stamp with the fired brick and faded denim Distress Markers by Tim Holtz.

On the inner most card I printed a sticker that read, "personally I don't see what all the fuss is about!" and stamped an image of a large crown and embellished it with stick-on gemstones and lots of stickles to make it really sparkly!
It really caused a chuckle at the trading card meeting. Everyone broke out in laughter, and I was so surprised, it really made my day!

I guess they were expecting something else????????????
Have a wonderful day, and a great weekend. This only goes to show you that a little thing like this card can cause  laughter, which in many ways is considered the best medicine.


Wednesday, September 5, 2012

PAPER DOLL themed Artist Trading Card for September


Hello friends,
The September trade of Artist Trading Cards or ATC's was lots of fun! My first card theme was Paper Doll. I made a bi-fold card with the map that says "Summer is for lots of fun" on the cover, and when you open it, the school house with "but now the school bell has rung" on the inside of the cover. Opposite the school house is the Papier Family of stamps from Paper Wings Productions, Marcel, Louise, and Luc in their summer wear. On the back of the card is a mini manila envelope that holds the paper doll's school clothes, shown on them in the bottom picture.

This card was so much fun to make. I had to stamp out the figures, trim off their clothes, and add their shorts, shirts, and bathing suit. I then printed these out to use for the summer theme of the card. I then took the clothes I trimmed off, and copied them on my printer and adjusted the clothes to fit their new shapes, so I could print them out and color them.  Of course, I had to add the little tabs to fold around the doll, and then had to adhere the dolls to the background, popped up on foam tape so the clothes could be taken off and put back on. That section was the hardest of all to produce.

The front of the card was a printed piece of scrapbook paper that I colored with my copic markers and adhered the little label saying "summer is for lots of fun". The school house stamp from Stampabilities was stamped on white cardstock, colored with copics, cut out and adhered to the light blue stock, and the label with "but now the school bell has rung" stuck beneath it. The family and their clothes were colored with my copic markers, and the background behind them was sprayed with the Dylusions Sprays from Ranger.

The second theme for this month's trade was "Crown Jewels." I did a take off of an occurrence in the news two weeks ago with  Prince Harry, and will show my card in a couple of days. I hope you enjoyed this card, and will check back to see the "crown jewels" card. See you soon!

Thursday, June 7, 2012

June's Artist Trading Cards

Hello everyone!  This is my first post after our Artist Trading Card meeting for June. The group I meet with, gathers the first Tuesday evening of the month from 6:00 pm to 7:00 pm at Stamp Antonio Arts, in San Antonio, Texas. The first picture is my cards for the trade.  Our themes were; "Zentangle/Doodling/ Flat", one layer cards, or  "With One Stamp" and the stamp chosen was the Umbrella Man from Tim Holtz/Stampers Anonymous. I chose to do both themes.


At the meeting, I asked the other members of the group if I could post their cards for the trade on my blog and they all agreed.  These are the cards I got for the theme "Wth One Stamp"!

As you can see from the picture, there are several sizes of the Umbrella Man stamp used. Everyone does his or her own thing, and you can see how different they all look. That is what makes a group like this so much fun. You really never know what you are going to get, like Forest Gump said, "Life is like a box of chocolates... . . . ."

Our group theme for next month is "Cupcakes" & "Water".  If you think you might be interested in participating in something like this, our group is always looking for new members. Comment on this blog, stating you want more information, and I will get in touch with you, and provide you with the procedure to follow to enter the group. I would love to hear from you!

So until next time, take care, and "Be Creative" it will help you feel so good!